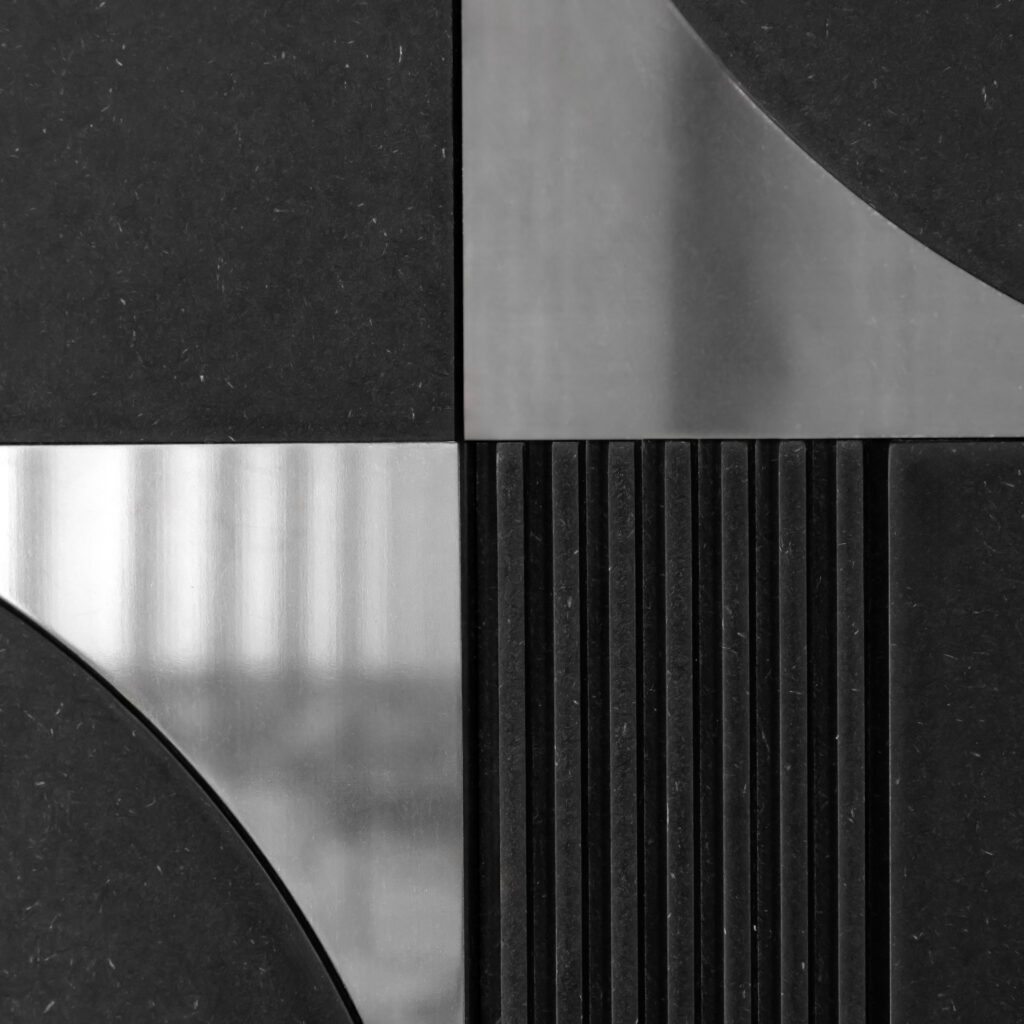
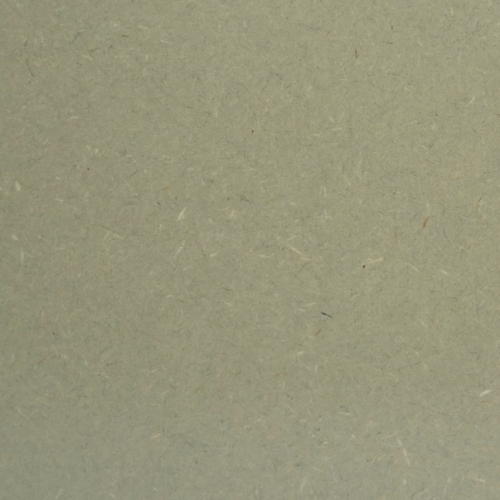
Fine raw wood particles visible on the surface ensure a delicate, natural-looking texture and add an organic character.
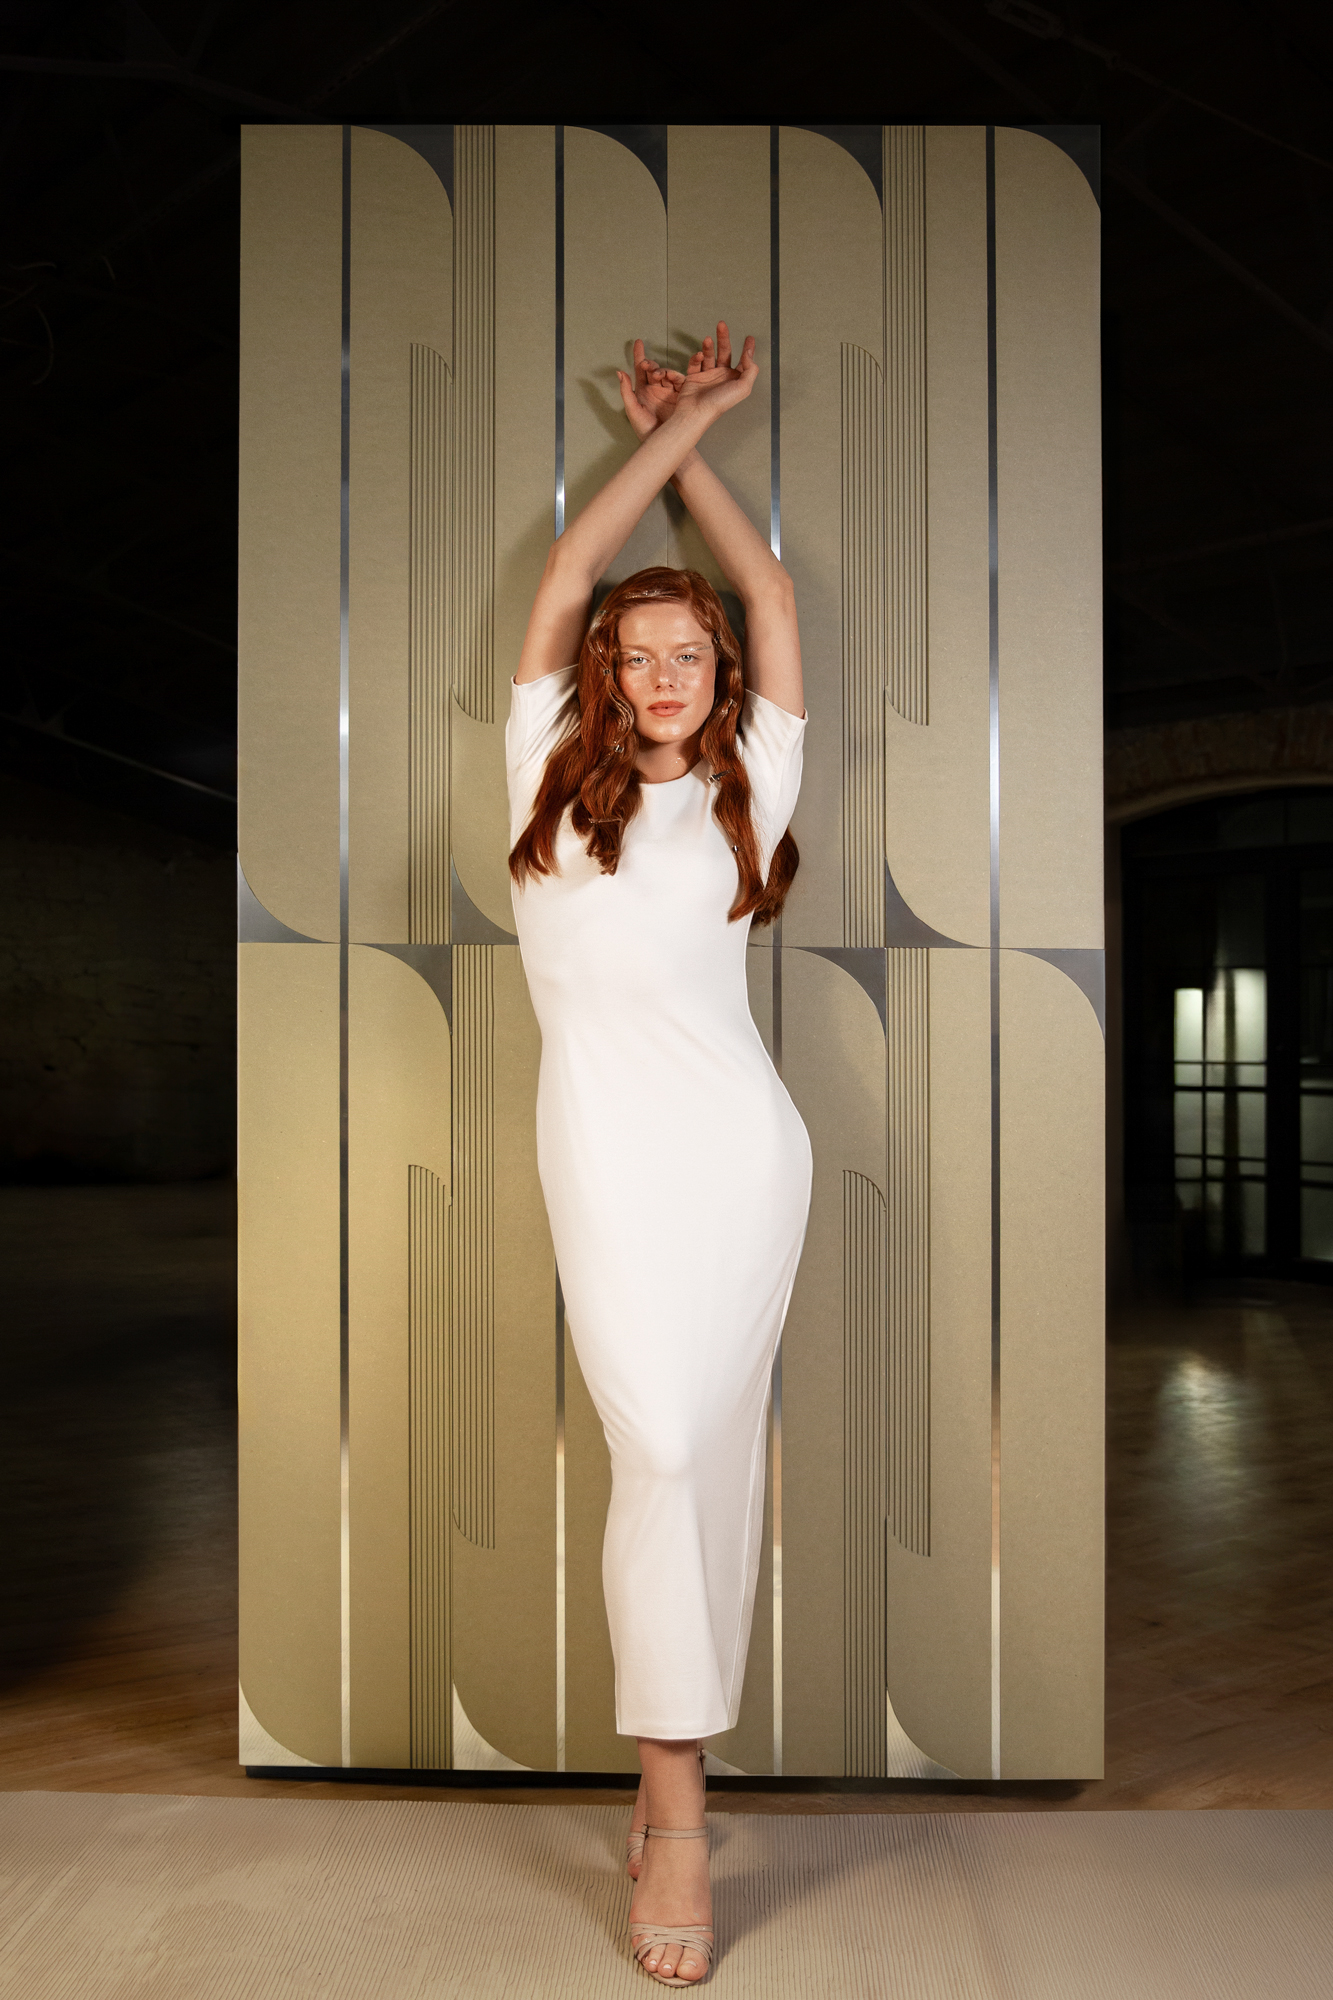
Panels adorned with vertical grooves and mirror finish steel lamellas, as well as arched surfaces, minimise vertical divisions.
Available in two colours: Light Olive and Dark
You can mix colours or style single colour panels to create custom compositions.
Balancing the backside material prevents any deformations, ensuring panel sturdiness.
TECHNICAL DATA
Dimensions
Height: 1200 mm Thickness: 23 mm Weight:
Width: 300 mm Area: 0,36 m²
Dimensional tolerance in accordance with EN 622-5:2009 standard ±1 mm depending on the batch.
Material specification
Materials used
Valchromat board coloured through covered with satin varnish, solid wood board, mirror finish stainless steel
Product name
• Piano Light Olive
• Piano Dark
Sturdiness
Balancing backside material prevents any deformations, ensuring panel sturdiness
Durability
30% harder and more resistant to mechanical damage than traditional panels
Our panels are environmentally friendly
Owing to the use of natural materials and reduced quantity of harmful chemicals, they can be safely used within the reach of children.
Installation guide
1. Determining the fixing line
Using a cross line laser or spirit level, determine the horizontal fixing line 300 mm above the floor level (maintaining a compensation gap of 20 mm).
Place the batten against the laser line – the perpendicular edge and elongated mounting holes (“bean holes”) enable accurate fitting to the level.
2. Preparing the batten for fitting
Cut the excess batten length to size, in order to fit it to the wall end.
3. Fixing the batten to the wall
Place the batten against the wall and draw points for Ø7 mounting holes. Apply Ø6/80 mm wall plugs (from 4 to 6 pcs) in the marked points.
Elongated mounting holes (“bean holes”) enable adjustment of the batten in relation to the fixing line.
If the wall is uneven, the fixing points should correspond to the points in which the batten contacts the wall – do not bend the batten.
4. Securing and completing the installation
The process should be repeated for subsequent panels, attention being paid to any possibly uneven walls that may require additional fitting adjustments.
Due to available adjustment options and accurate fitting of the batten to the wall, installation is smooth and ensures the stability of the entire structure